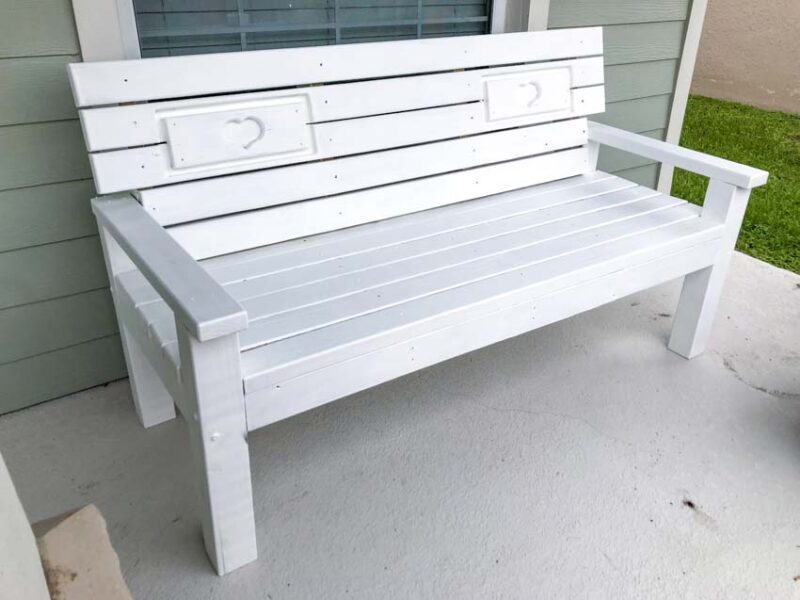
Build A Sturdy Outdoor Bench Without A Ton Of Hassle
If you’re looking to build your own DIY bench seat, 2x4s offer a relatively simple option that can sit on your porch or survive the elements outdoors. Plus, you can paint it whatever color you like.
DIY 2×4 Bench Seat Materials
- Sixteen 8-foot 2×4 studs
- One 8-foot 4×4
- Fifty 2 1/2-inch deck screws
- Eight 5/16 x 4-inch RSS screws (rugged structural screws)
- Eight 5/16 x 6-inch RSS screws
If you want some extra outdoor protection, you can go with pressure-treated wood instead of untreated. Take the time to go through the lumber and pick the straightest boards you can find. You’ll be cutting them down, but the straighter they are the better your bench will look when you’re done.
DIY 2×4 Bench Seat Tools
- Miter saw
- Drill and drill bit set
- Impact driver with bits that match your screws
- Sander with 120-grit sandpaper
- Router with roundover (optional)
- Tape measure
If you don’t have a miter saw, you can use a circular saw instead. A rafter square can help you make perfect cross cuts and you’ll need to be able to accurately mark and cut a 15° miter. Also note that when you’re cutting the 4×4, you’ll need to cut one side, flip the board, and then cut the other to get all the way through.
DIY 2×4 Bench Seat Prep
Step 1: Make Your Cuts
Start by making all your cuts first so your saw work is complete and you only have to deal with assembly when you’re done. Note that the four boards you’re cutting a 15° miter on will be 16 and 19 inches on the long sides.
- Two 2x4x16 inches, one side cut at 15° (backrest supports)
- Two 2x4x19 inches, one side cut at 15° (backrest frame)
- Two 2x4x56 inches (backrest frame beams)
- Six 2x4x59 inches (four seat planks and two seat frame beams)
- Eight 2x4x66 inches (five seat planks and three backrest planks)
- Two 2x4x27 1/2 inches (armrests)
- Two 2x4x19 inches (corner post supports)
- Three 2x4x23 inches (seat frame supports)
- Four 4x4x23 1/2 (corner posts)
Step 2: Sand Your DIY 2×4 Bench Seat Boards
Some people say to sand at the end, but I prefer to sand before assembly so I can get every surface. We went with 120-grit, but 80-grit is fine for this project, especially if you’re going to put a coat of good, thick exterior paint on it.
Step 3: Apply a Roundover or Chamfer Edge to Select Boards (Optional)
In this optional step, you can take your DIY 2×4 bench seat build up a notch by hitting specific edges with a roundover. The primary goal is to make the edges where people’s arms and legs rest more comfortable. However, you can hit more to create a more well-designed look. Here are the boards we recommend routing:
- Armrests: Top and bottom edges all the way around
- Seat planks: Outward-facing edges all the way around
- Seat frame: Bottom edge of the front frame board only
- Corner supports: Top and bottom outward-facing edges
- Corner post: All four long edges
- Backrest planks: Outward-facing edges all the way around
If you prefer, you can also determine which boards you want to roundover as you go.
DIY 2×4 Bench Seat Assembly
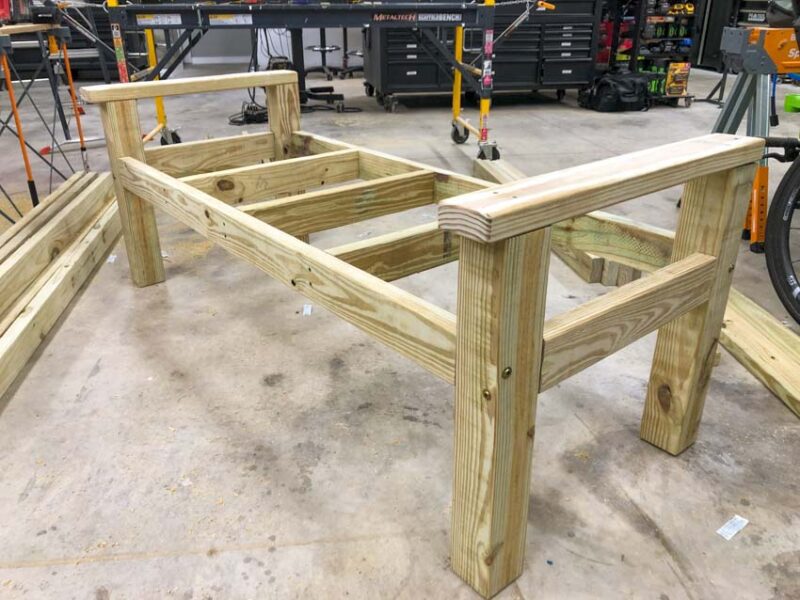
Step 1: Assemble the Frame for the Bench Seat and Attach the Armrests
Materials
- Four corners posts (23 1/2 inches)
- Two armrests (27 1/2 inches)
- Two corner post supports (19 inches)
- Three seat frame supports (23 inches)
- Two seat frame beams (59 inches)
Attach the seat frame 2x4s to the corner posts flush to the outside edges by driving one 6-inch RSS screw through the 4×4 and into the 2×4. Be sure to drill a pilot hole through the 4×4 and the 2×4 to help it go in straight and avoid splitting your wood.
Pro Tip: Install your drill bit so that it can go all the way through the 4×4 and touch the edge of the 2×4 to mark its position where the screw will come through. Then use that mark to drive your pilot hole deeper into the 2×4 to help avoid the screw coming through the side of your board.
Attach the middle seat frame support 2x4s by driving two deck screws from outside the seat frame into the supports. Center one support and install the other two 14 1/2 inches from the outside corner supports.
On top of the corner posts, attach the armrests using two deck screws on each corner post (we prefer them side-by-side in the middle). Make sure the rear of each armrest is flush with the back of the rear corner posts. The armrest should stick out over the front corner posts.
Step 2: Add Bench Seat Planks
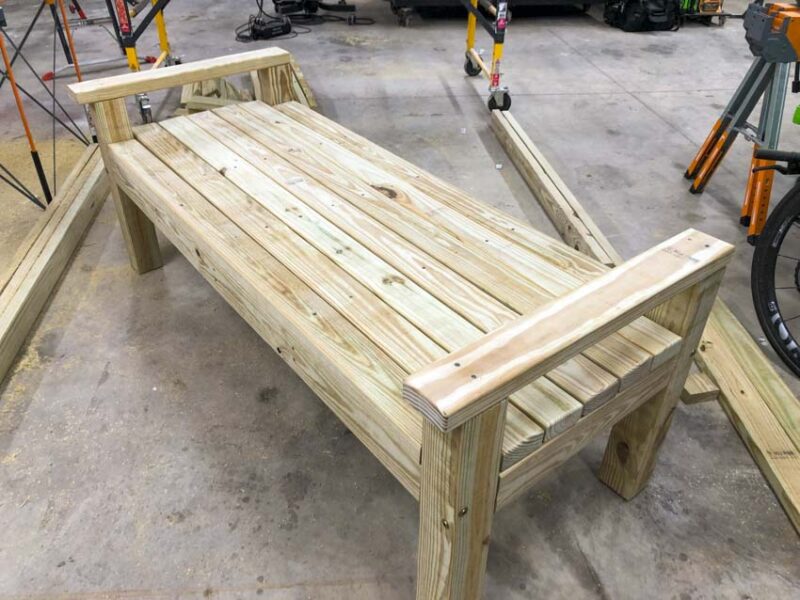
Materials
- Two 59-inch seat planks
- Four 66-inch seat planks
Start by attaching the 59-inch front and back seat planks with one deck screw on each support and then work inward towards the center with the 66-inch boards. You should have ~1/4-inch gap between each board.
Feel free to lay out all six boards first so you have your spacing right, just take out one at a time as you go so you can see the support beams clearly as you fasten each board. The last one will hide them, but you can gauge where it is by checking the gap between the boards or using the line of screws you already installed as a guide.
Drill pilot holes for the two end screws on each board to prevent splitting.
Step 3: Assemble the Frame for the Back
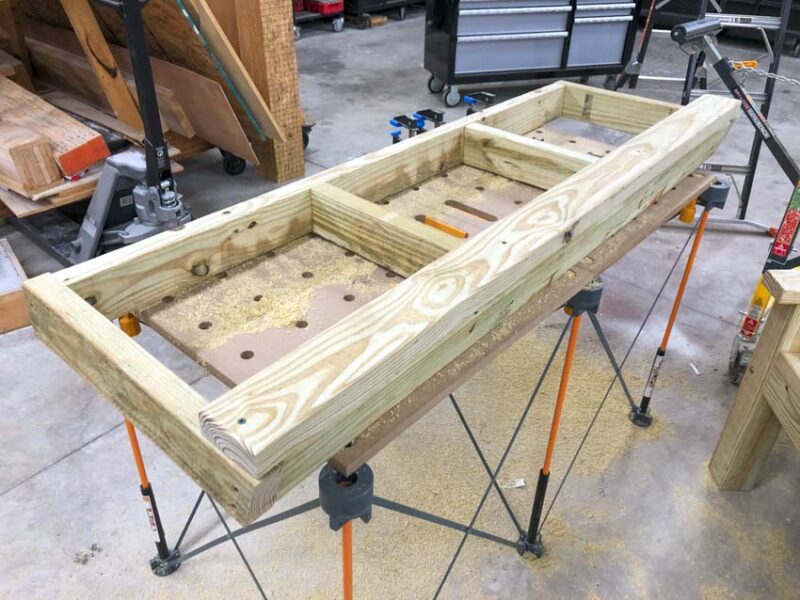
Materials
- Two backrest supports (16 inches, bottom cut at 15° leaning back)
- Two backrest frame boards (19 inches, bottom cut at 15° leaning back)
- Two backrest frame beams (56 inches)
The seat back is one of the easiest pieces to assemble and is also the most likely to expose any flaws in your cutting. The four vertical boards should all have their bases cut at 15°. As you attach them with deck screws, be sure they are all leaning back in the same direction.
Drive eight deck screws to connect the two outside frame boards to the backrest frame beams (two at each connection point). Then align the backrest supports 17 1/2 inches from the outside frame boards and attach them by driving two screws through the backrest beams and into the supports.
Step 4: Add Backrest Planks
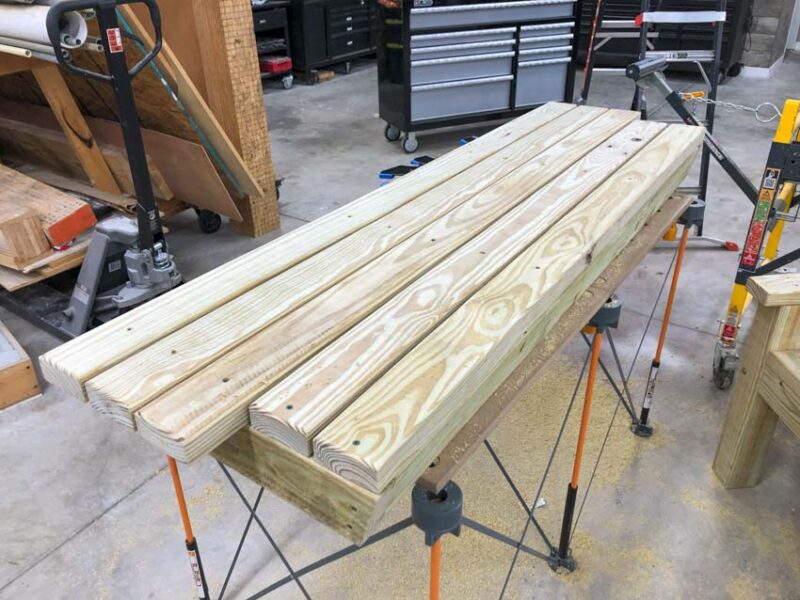
Materials
- Two 59-inch backrest planks
- Three 66-inch backrest planks
Starting with the bottom and working up, attach the backrest planks to the frame you just built. Like the seat, feel free to lay out all of the boards first to get the correct spacing (~1/4-inch again). Like the seat, use one deck screw at each support connection to attach the planks.
Be sure to drill pilot holes for the two end screws on each board to prevent splitting.
Step 5: Connect the Backrest to the Seat
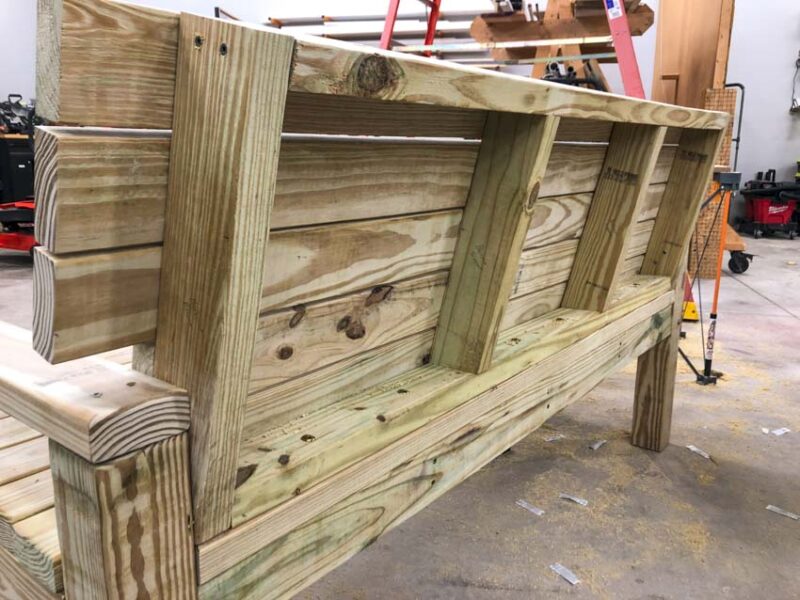
You’re almost done! The last step of the assembly is attaching the backrest to the seat. This requires the strongest connection of all. Using the 4-inch RSS screws, connect the two pieces by screwing the bottom 2×4 of the backrest frame to the bench seat so that the connecting 2x4s are flush with one another.
Add another RSS screw going in from the side of the backrest frame into the back corner posts for additional strength.
Step 6: Paint or Stain Your DIY 2×4 Bench Seat
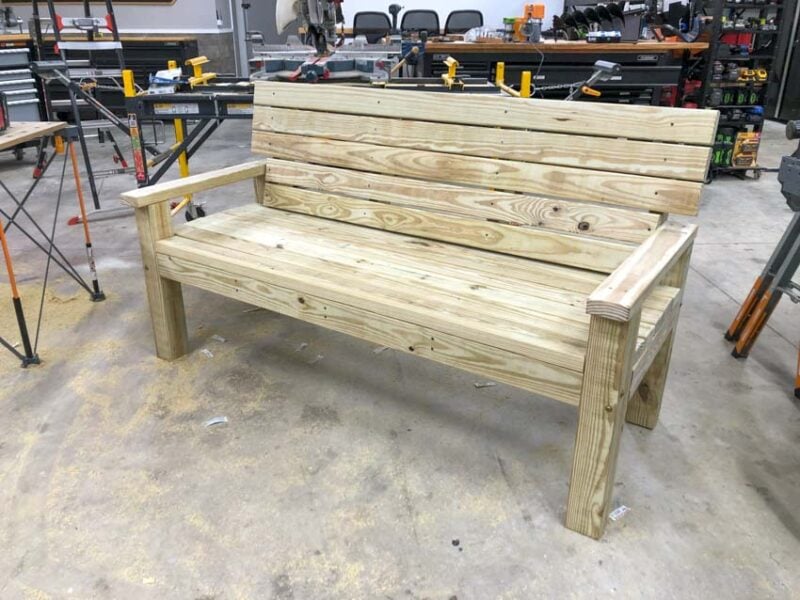
If you prefer, fill any holes and spot-check for any surfaces that need some touch-up sanding, especially around screw holes. Then apply the paint or stain you want to get the look you’re going for. Remember to use primer!
If you decided to go with pressure-treated lumber, we recommend a painted finish over stain, especially lighter-colored ones that the green tinge of the pressure treatment can affect.
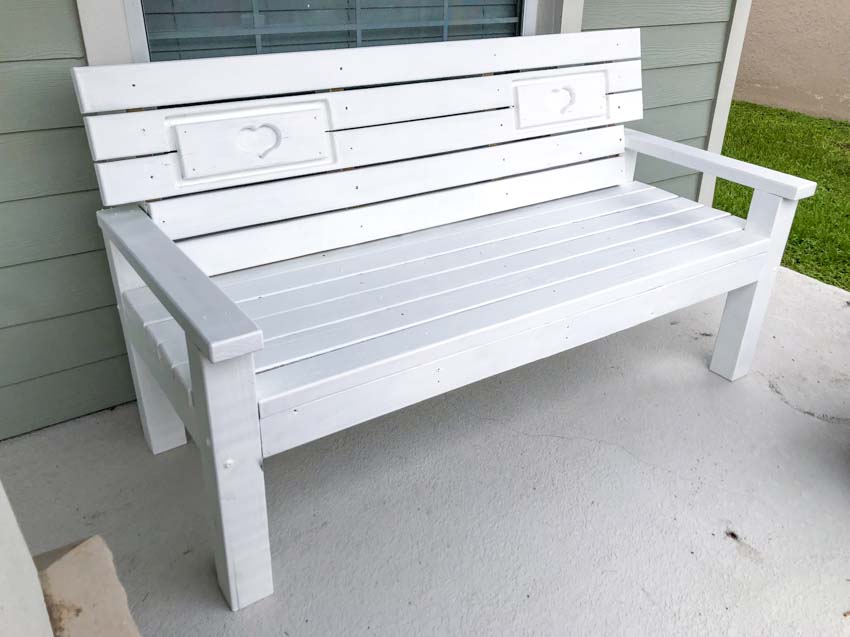
This build was for my mom, so I finished it off by recovering a couple of pieces of a 30-year-old swing my dad had bought her and incorporated them into the back before I painted it.
